Edit, back up, share: how to organise your travel photos while you’re stuck at home – seven pro tips
- Use your enforced rest to clear out those SD cards and laptops crammed full of JPEGs and RAW files, keep only the best and tweak them to look more professional
- Reminisce over your favourite past adventures and learn some lessons on getting better quality shots next time around
Are you making the best of your travel history? For once, we all have plenty of time on our hands to step back and consider it.
Many of us have had incredible experiences abroad and will have the photos – thousands of them – to prove it. But chances are your travel photography files are in a mess, so what better time to sort them out and enjoy reminiscing over your favourite past adventures while you do?
1. How to edit your travel photos
We all have too many travel photos. Whether you have got SD cards and laptops crammed full of JPEGs and RAW files, or they are all on your phone(s), there are probably way too many. So delete them – or at least most of them.

The process of going through a stash of travel photos and deciding which ones to keep is time-consuming, but worth the effort. Delete duplicates, but also get rid of cliché images. Instead keep photos that were taken from an unusual or unexpected angle.
Zoom in on photos you decide to keep to see how sharp they are, and bin the blurry ones.
2. How to organise and back up your travel photos
If you are using just a smartphone, you have probably got your photos backed up on Apple’s iCloud Photos or Google Photos. If not, consider doing so.
If you are using a laptop or desktop, create folders for each trip and drag in your chosen few. When you are happy with the final results – after cropping and post-processing your favourites – Google Photos also works brilliantly as a place to keep everything backed up. An alternative is to sync your computer’s folders with the Dropbox app, which is seamless – but expensive.

3. How to improve your travel photos
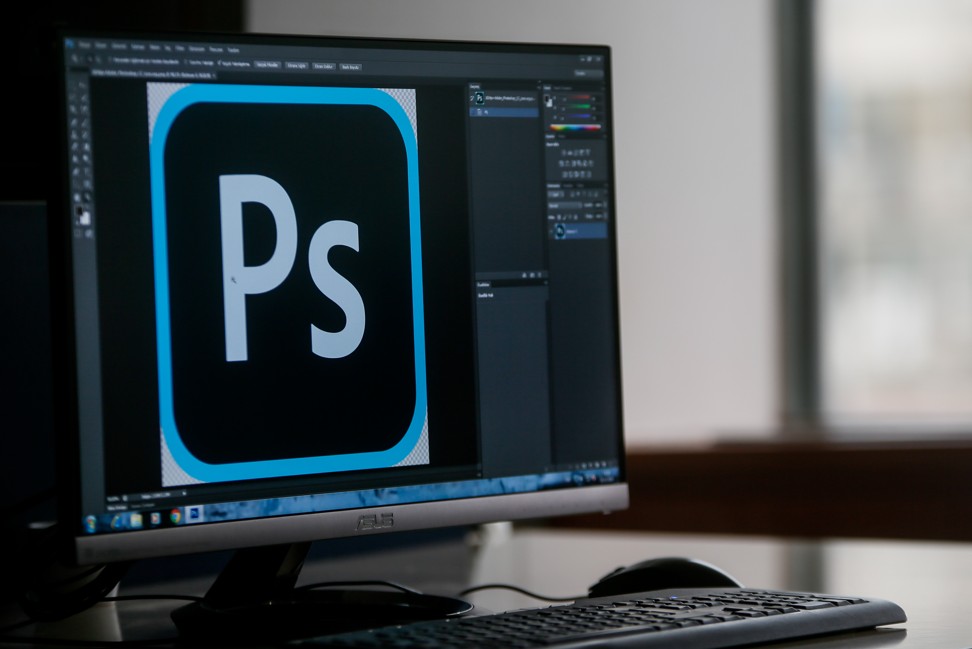
This is the art of post-processing – improving the quality of your photos – and there are lots of software packages that help you do this, from the pricey monthly plans offered by the likes of Adobe Photoshop/Lightroom to free download GIMP and free online photo editors like Pixlr X. There are also packages on laptops and desktops, such as Apple’s iPhoto.
You can slavishly tweak individual parameters like contrast, colour temperature, clarity and saturation, but do not ignore the “auto-enhance” options, as they often provide a great starting point.

You can significantly improve your photo’s composition simply by cropping them. Using the same post-processing packages, you can zoom in on a subject – resolution permitting – and even change an image’s shape and orientation (landscape, portrait or square).
The so-called “rule of thirds” is helpful here; horizontal and vertical lines that create a grid of nine squares overplayed on an image (either physically or imagined).
Instead of putting the subject of a photo at its centre, position it close to one of the intersections. It just looks more interesting. Broadly speaking, it works to crop your photos so that they contain one-third sky and two-thirds land, or vice versa.

5. Share on social media
This is where Instagram, Twitter and Facebook come in, and is why users invented one of today’s most popular hashtags: #ThrowbackThursday or #TBT. Intended for the posting of nostalgic pictures, it is an ideal way to highlight an interesting or positive experience from your past travels.
If you want to maximise views on Instagram, you can include hashtags relating to the destination, as well as generic #travel hashtags – such as #travelling, #traveller, #travelblogger #travelphotography and newcomer #travelsomeday.
The best camera apps to use on the go
6. Create prints and photo books
If you do not use social media, consider printing your favourite travel photos instead. Many photos get lost on devices and online, so sometimes it is nice to have hard evidence of happy experiences.
Your absolute favourites can be printed large and displayed on a wall in a picture frame. You can either print single images for placing in multi-photo frames – each themed to a particular trip – or compile a photo book online.
Photo books are excellent ways to reminisce over special trips, and they are built around easy-to-use software that allows drag-and-drop and simple resizing/editing of photos.

7. Learn some lessons
When you have finally got your travel photos sorted, study them in detail and see if you can glean any insight from those you deleted and kept. All of those panoramic photos you took – were any of them truly worth keeping?
Do you really need to continue taking five or 10 versions of the same shot on your phone, or is the first one usually the best? Are you taking way too many selfies?
Learn some lessons from what works for you – judging by the photos you have kept and printed. You might make an important decision that will make your next trip and its aftermath a lot easier: to take fewer (and better) photos.

